Super Easy DIY Cuticle Oil Recipe (with Essential Oils)
One of the wonderful things in the DIY realm these days is the ability we have to make our own cosmetics and skincare products – without all the chemicals that so many brands use. You can make all-natural cuticle oil with just a few ingredients and fewer minutes to use at home whenever you need it.
One of our favorite beauty care products to make at home is cuticle oil. You just need some basic tools and some lovely, fragrant ingredients to put together this cuticle oil recipe. The best part is, anyone can learn how to make cuticle oil, even your teenagers or mature kids.
Materials Needed
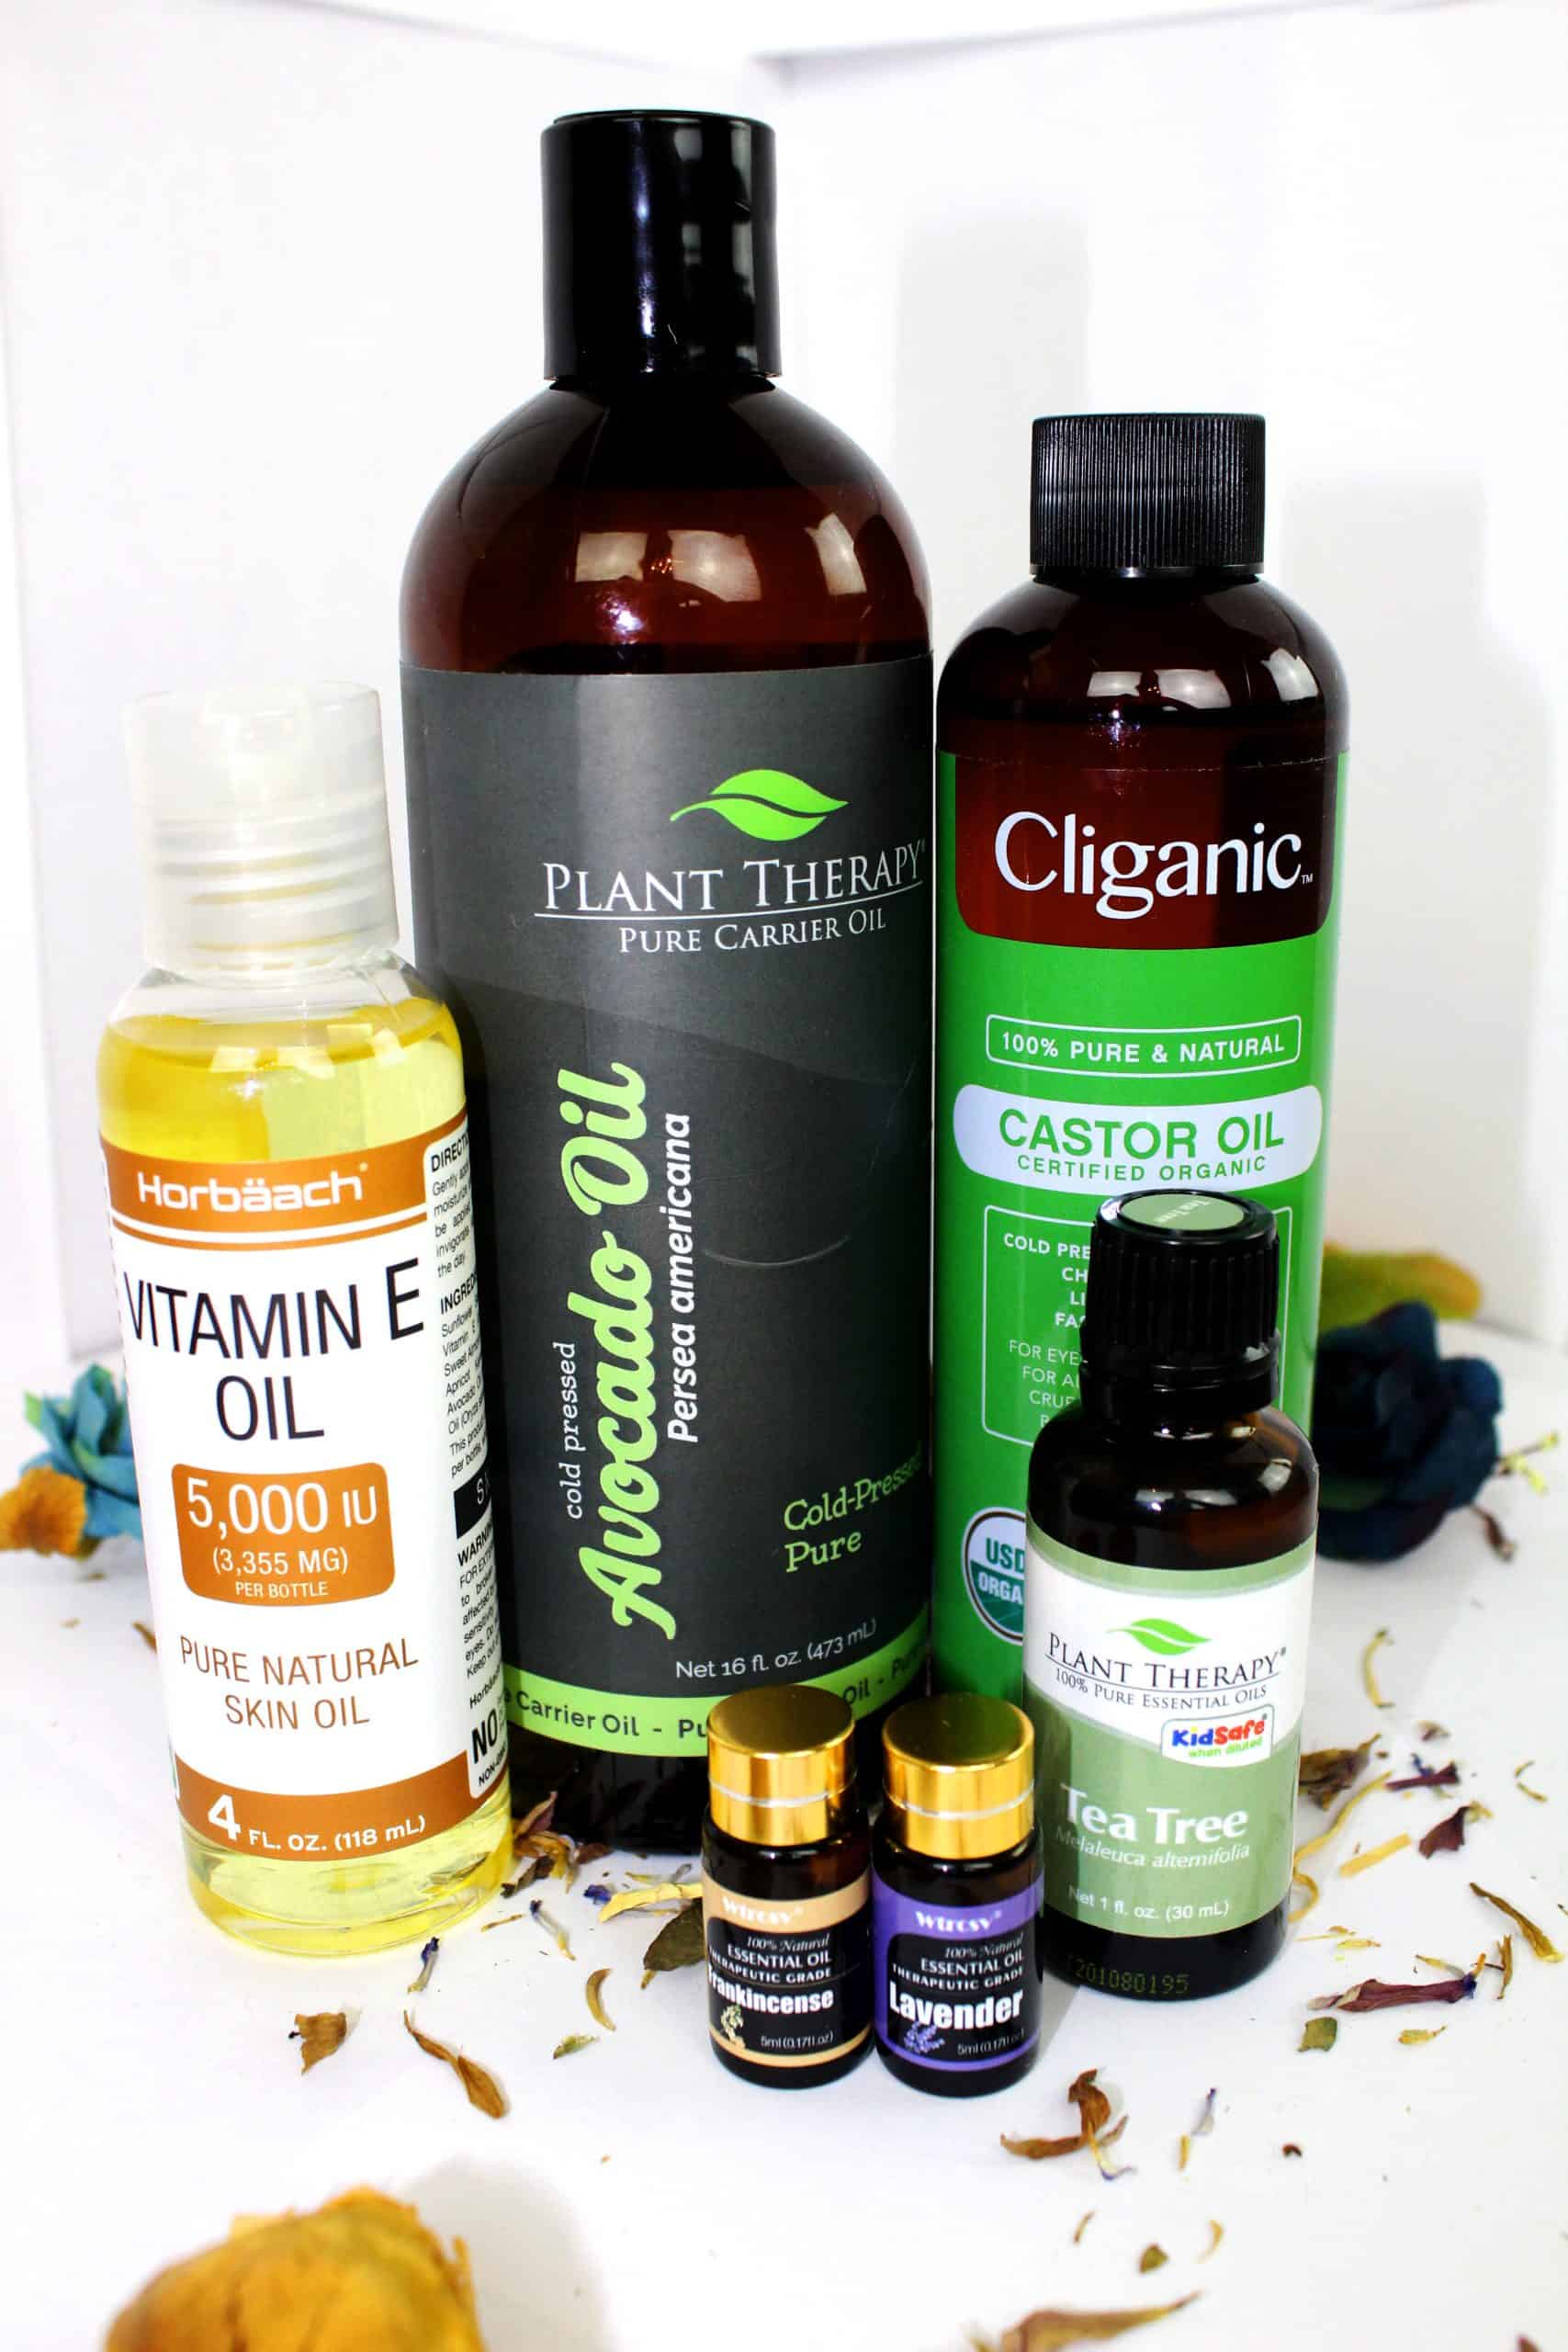
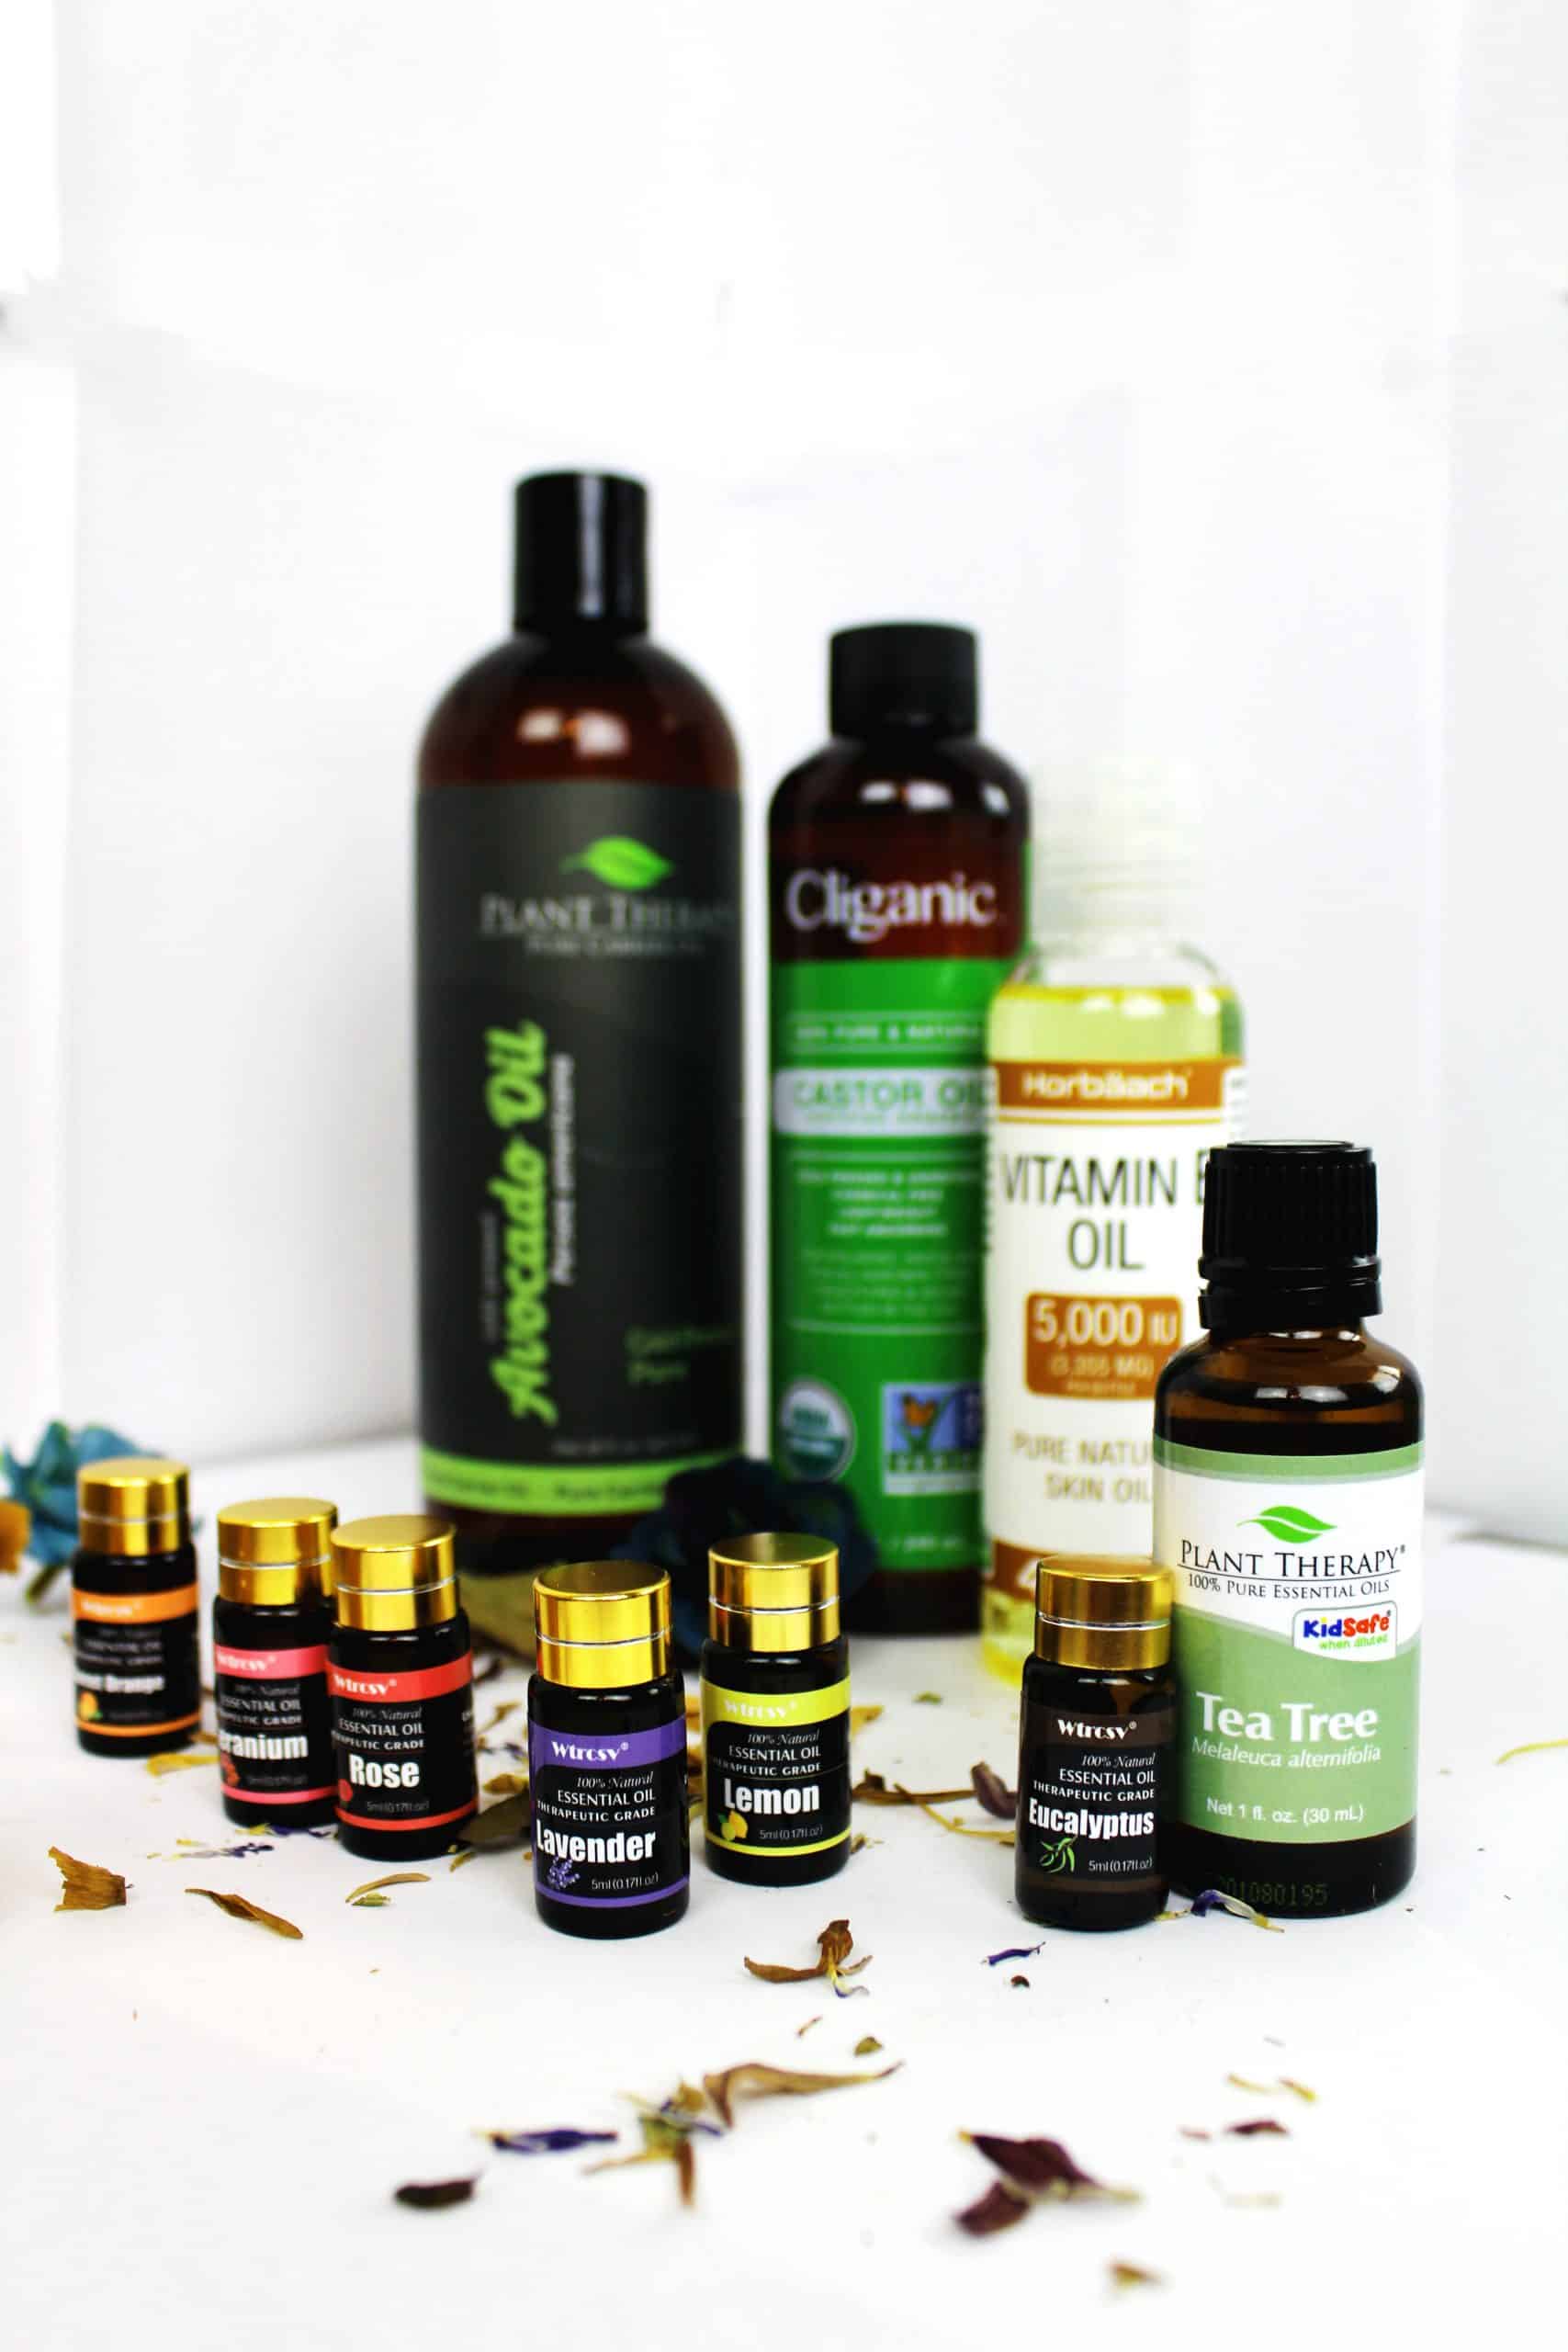
- 1 teaspoon Avocado oil
- 1 teaspoon Castor oil
- ¼ teaspoon Vitamin E oil
- 4 drops tea tree oil
- 4 drop lavender oil
- 4 drop frankincense oil
Tools Needed
- Small funnel
- Measuring spoons
- Dropper for essential oils (as needed)
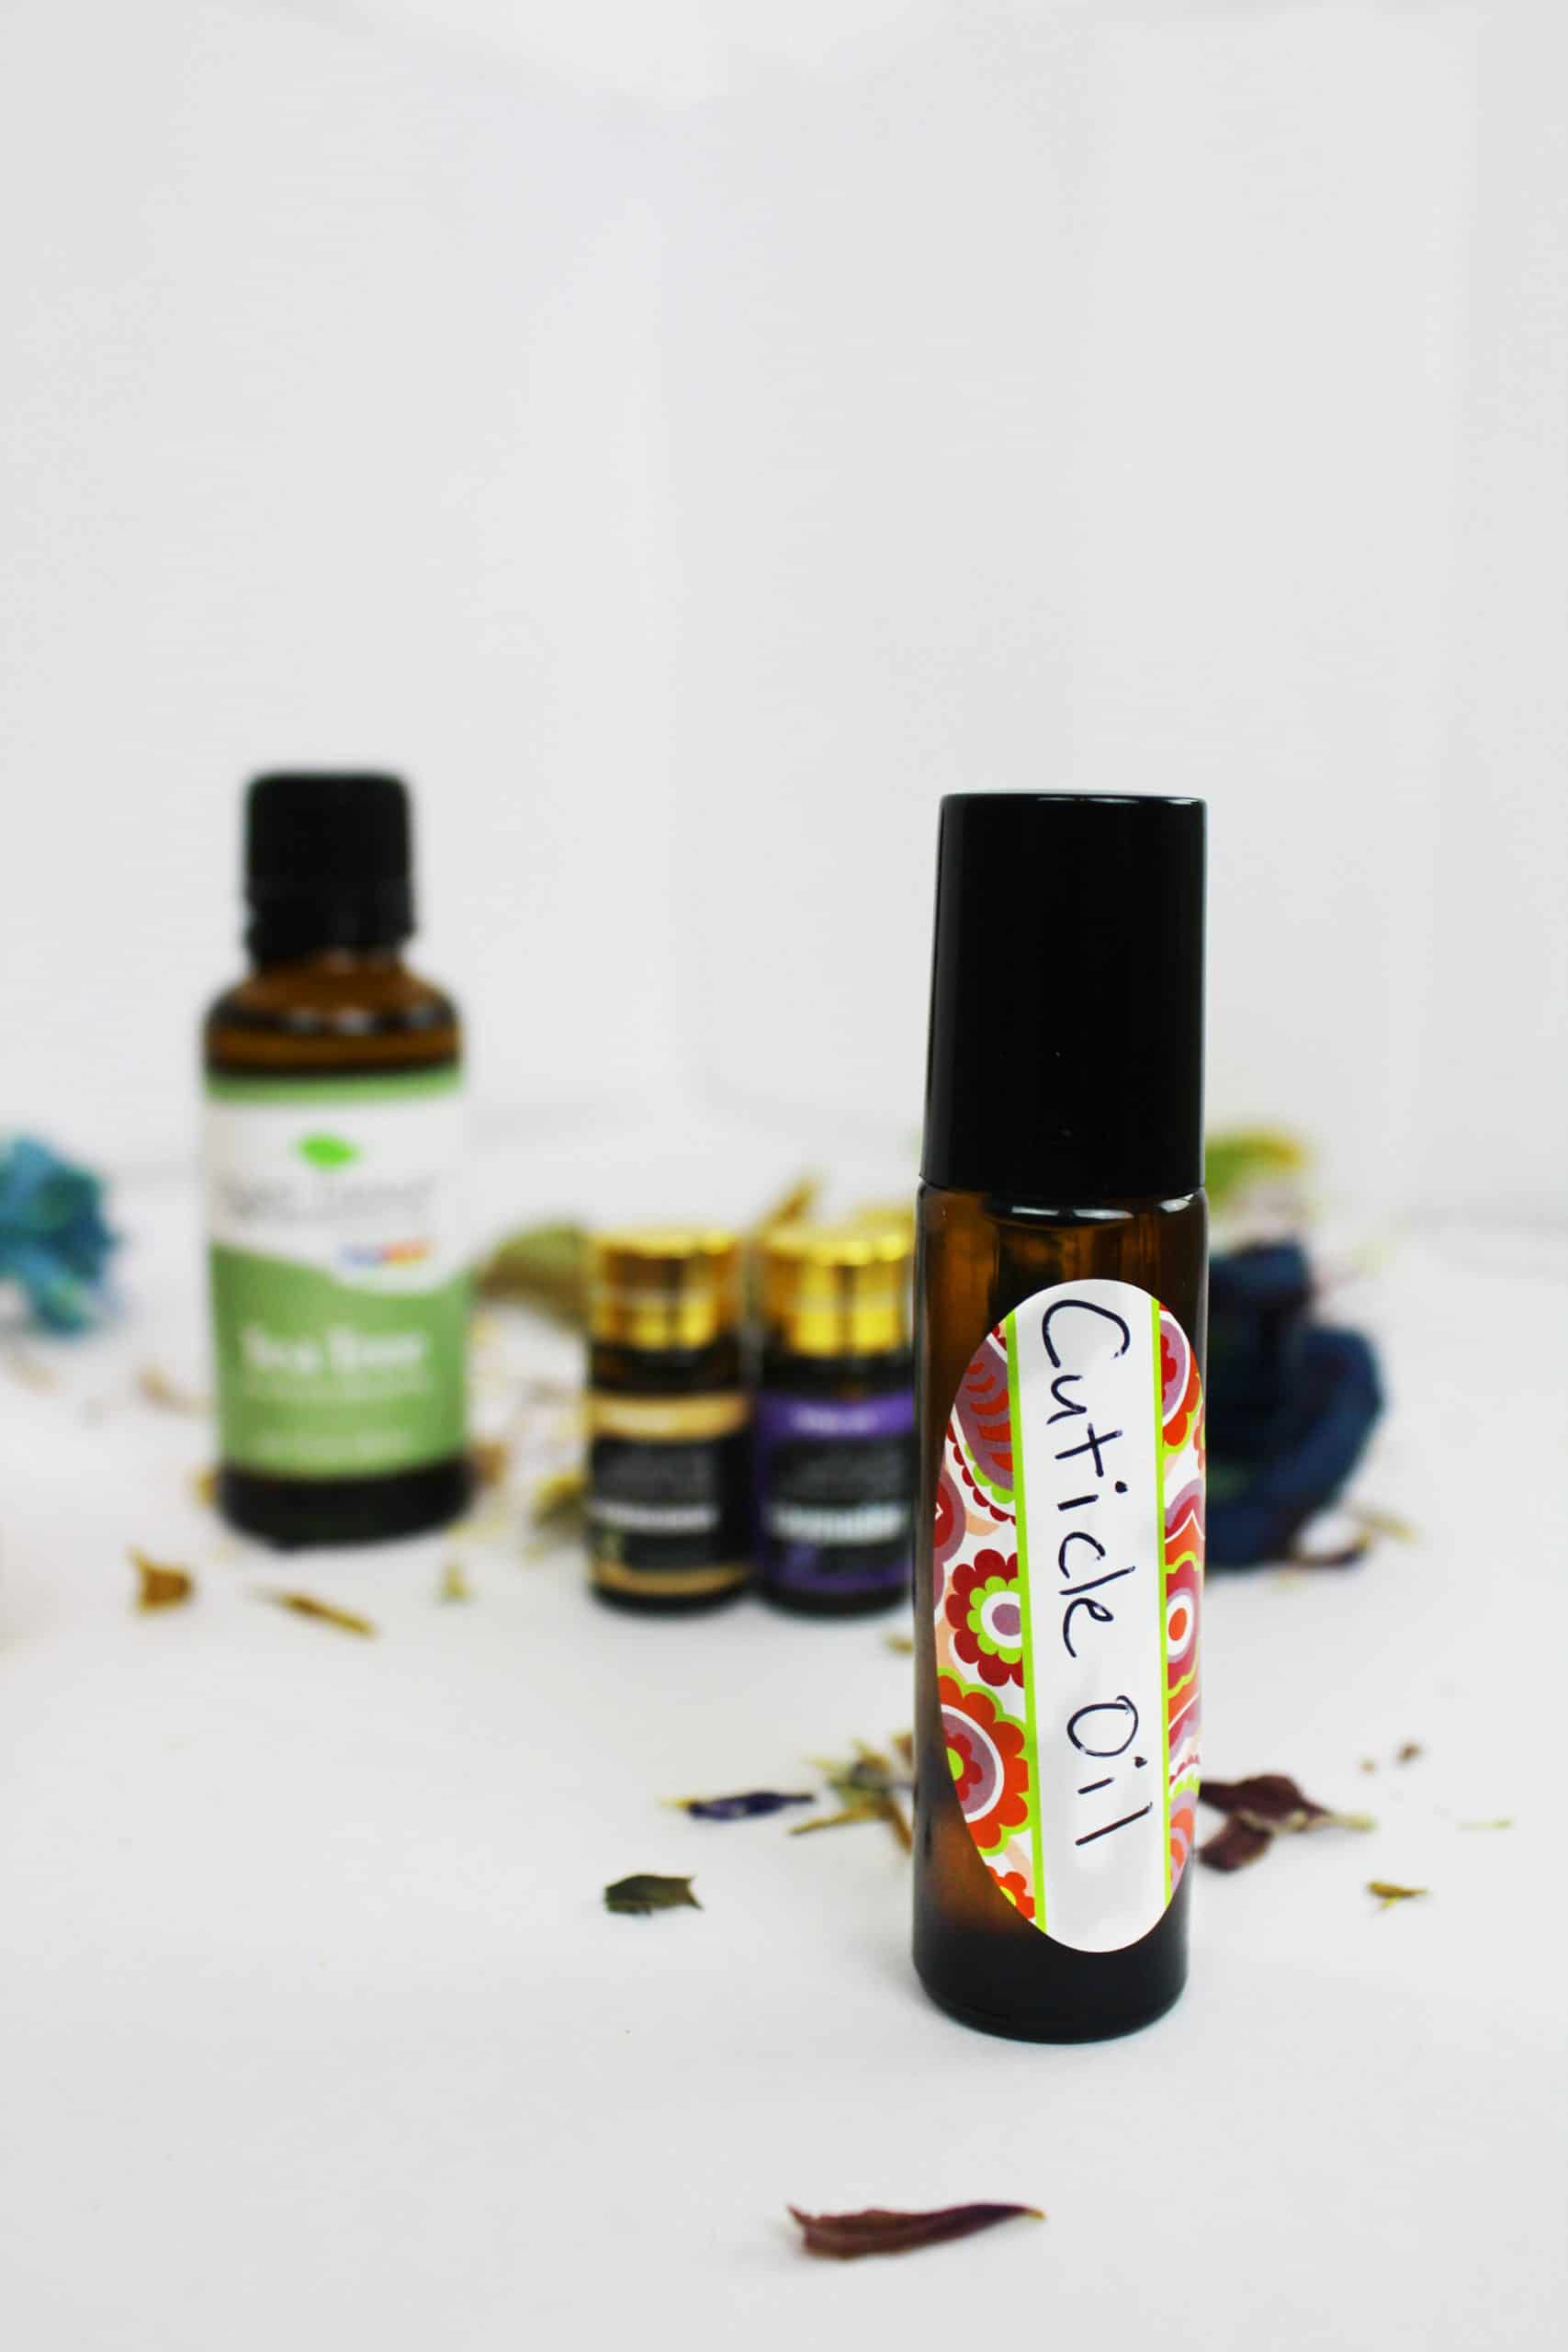
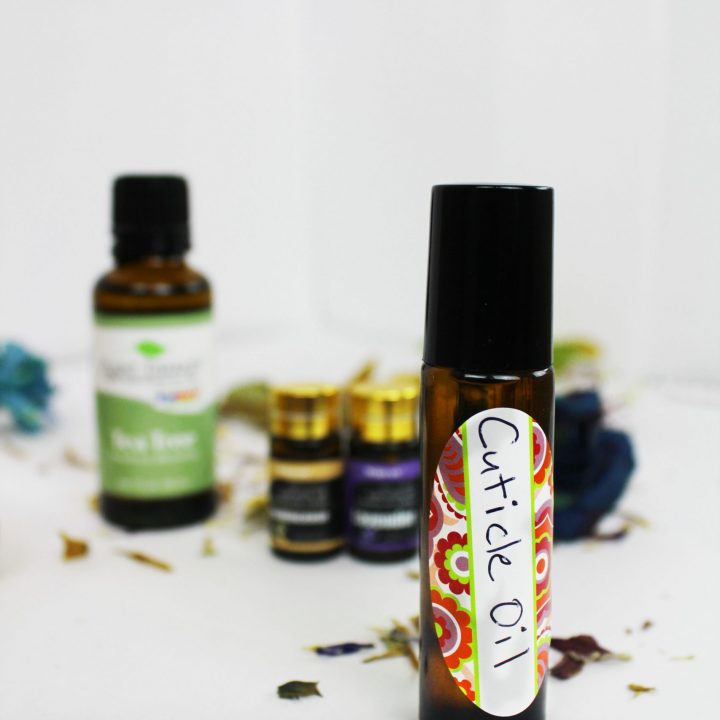
- 10 milliliter amber rollerball bottle or 1-ounce nail brush bottle
Why These Carrier Oils?
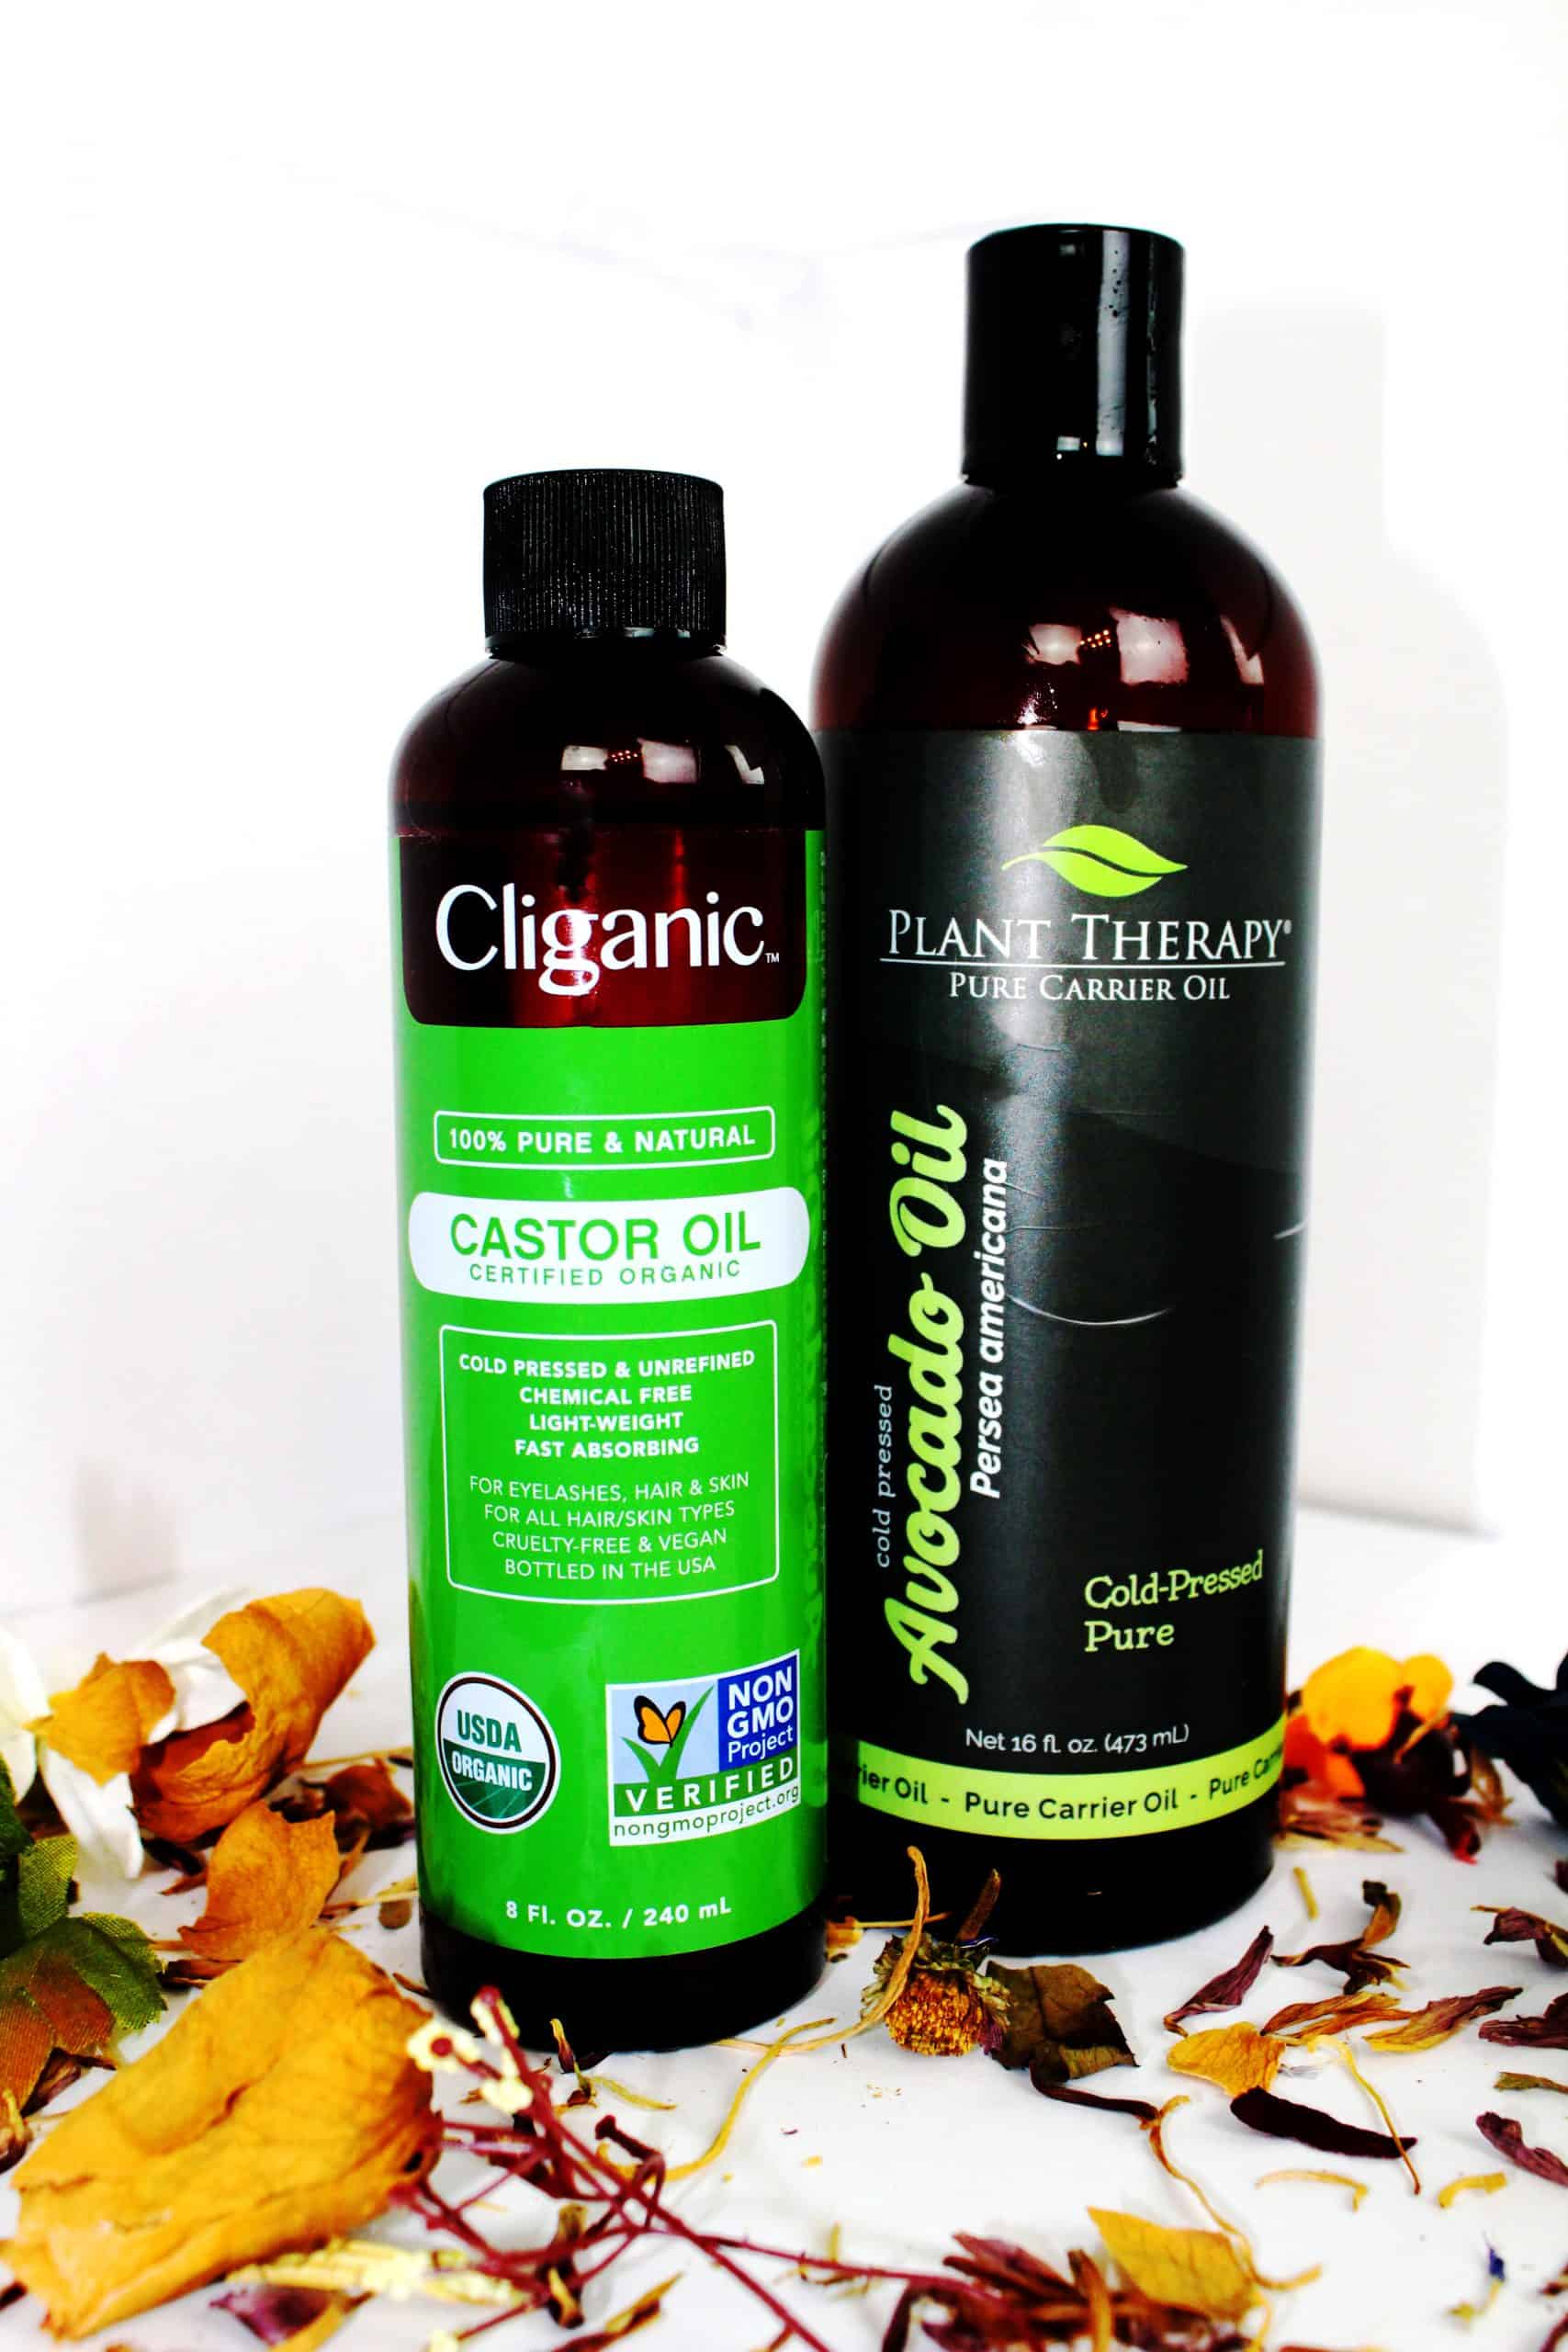
Avocado oil is an excellent carrier oil for any homemade essentials oil skin care product because it contains a high percentage of Vitamin E, lecithin, and potassium, as well as oleic acid. All of these components benefit your skin through nourishment and moisturization. They also promote collagen production, which helps your nails and skin grow healthy.
Castor oil is another great carrier oil for anything skin care related. The fatty acids in the oil helps your skin and nails grow strong and healthy, and specifically, the Vitamin E that the castor oil contains helps your nail bed health. It’s also purported that castor oil helps promote circulation and blood flow, which also help improve nail and skin health.
How To Make Homemade Cuticle Oil
Making your own natural cuticle oil is fairly easy. You’ll just need to do a few things ahead of time to prepare fully, and in less than 10 minutes, you’ll have your own ready-to-use homemade cuticle oil.
Step 1 – Clean your rollerball bottle.
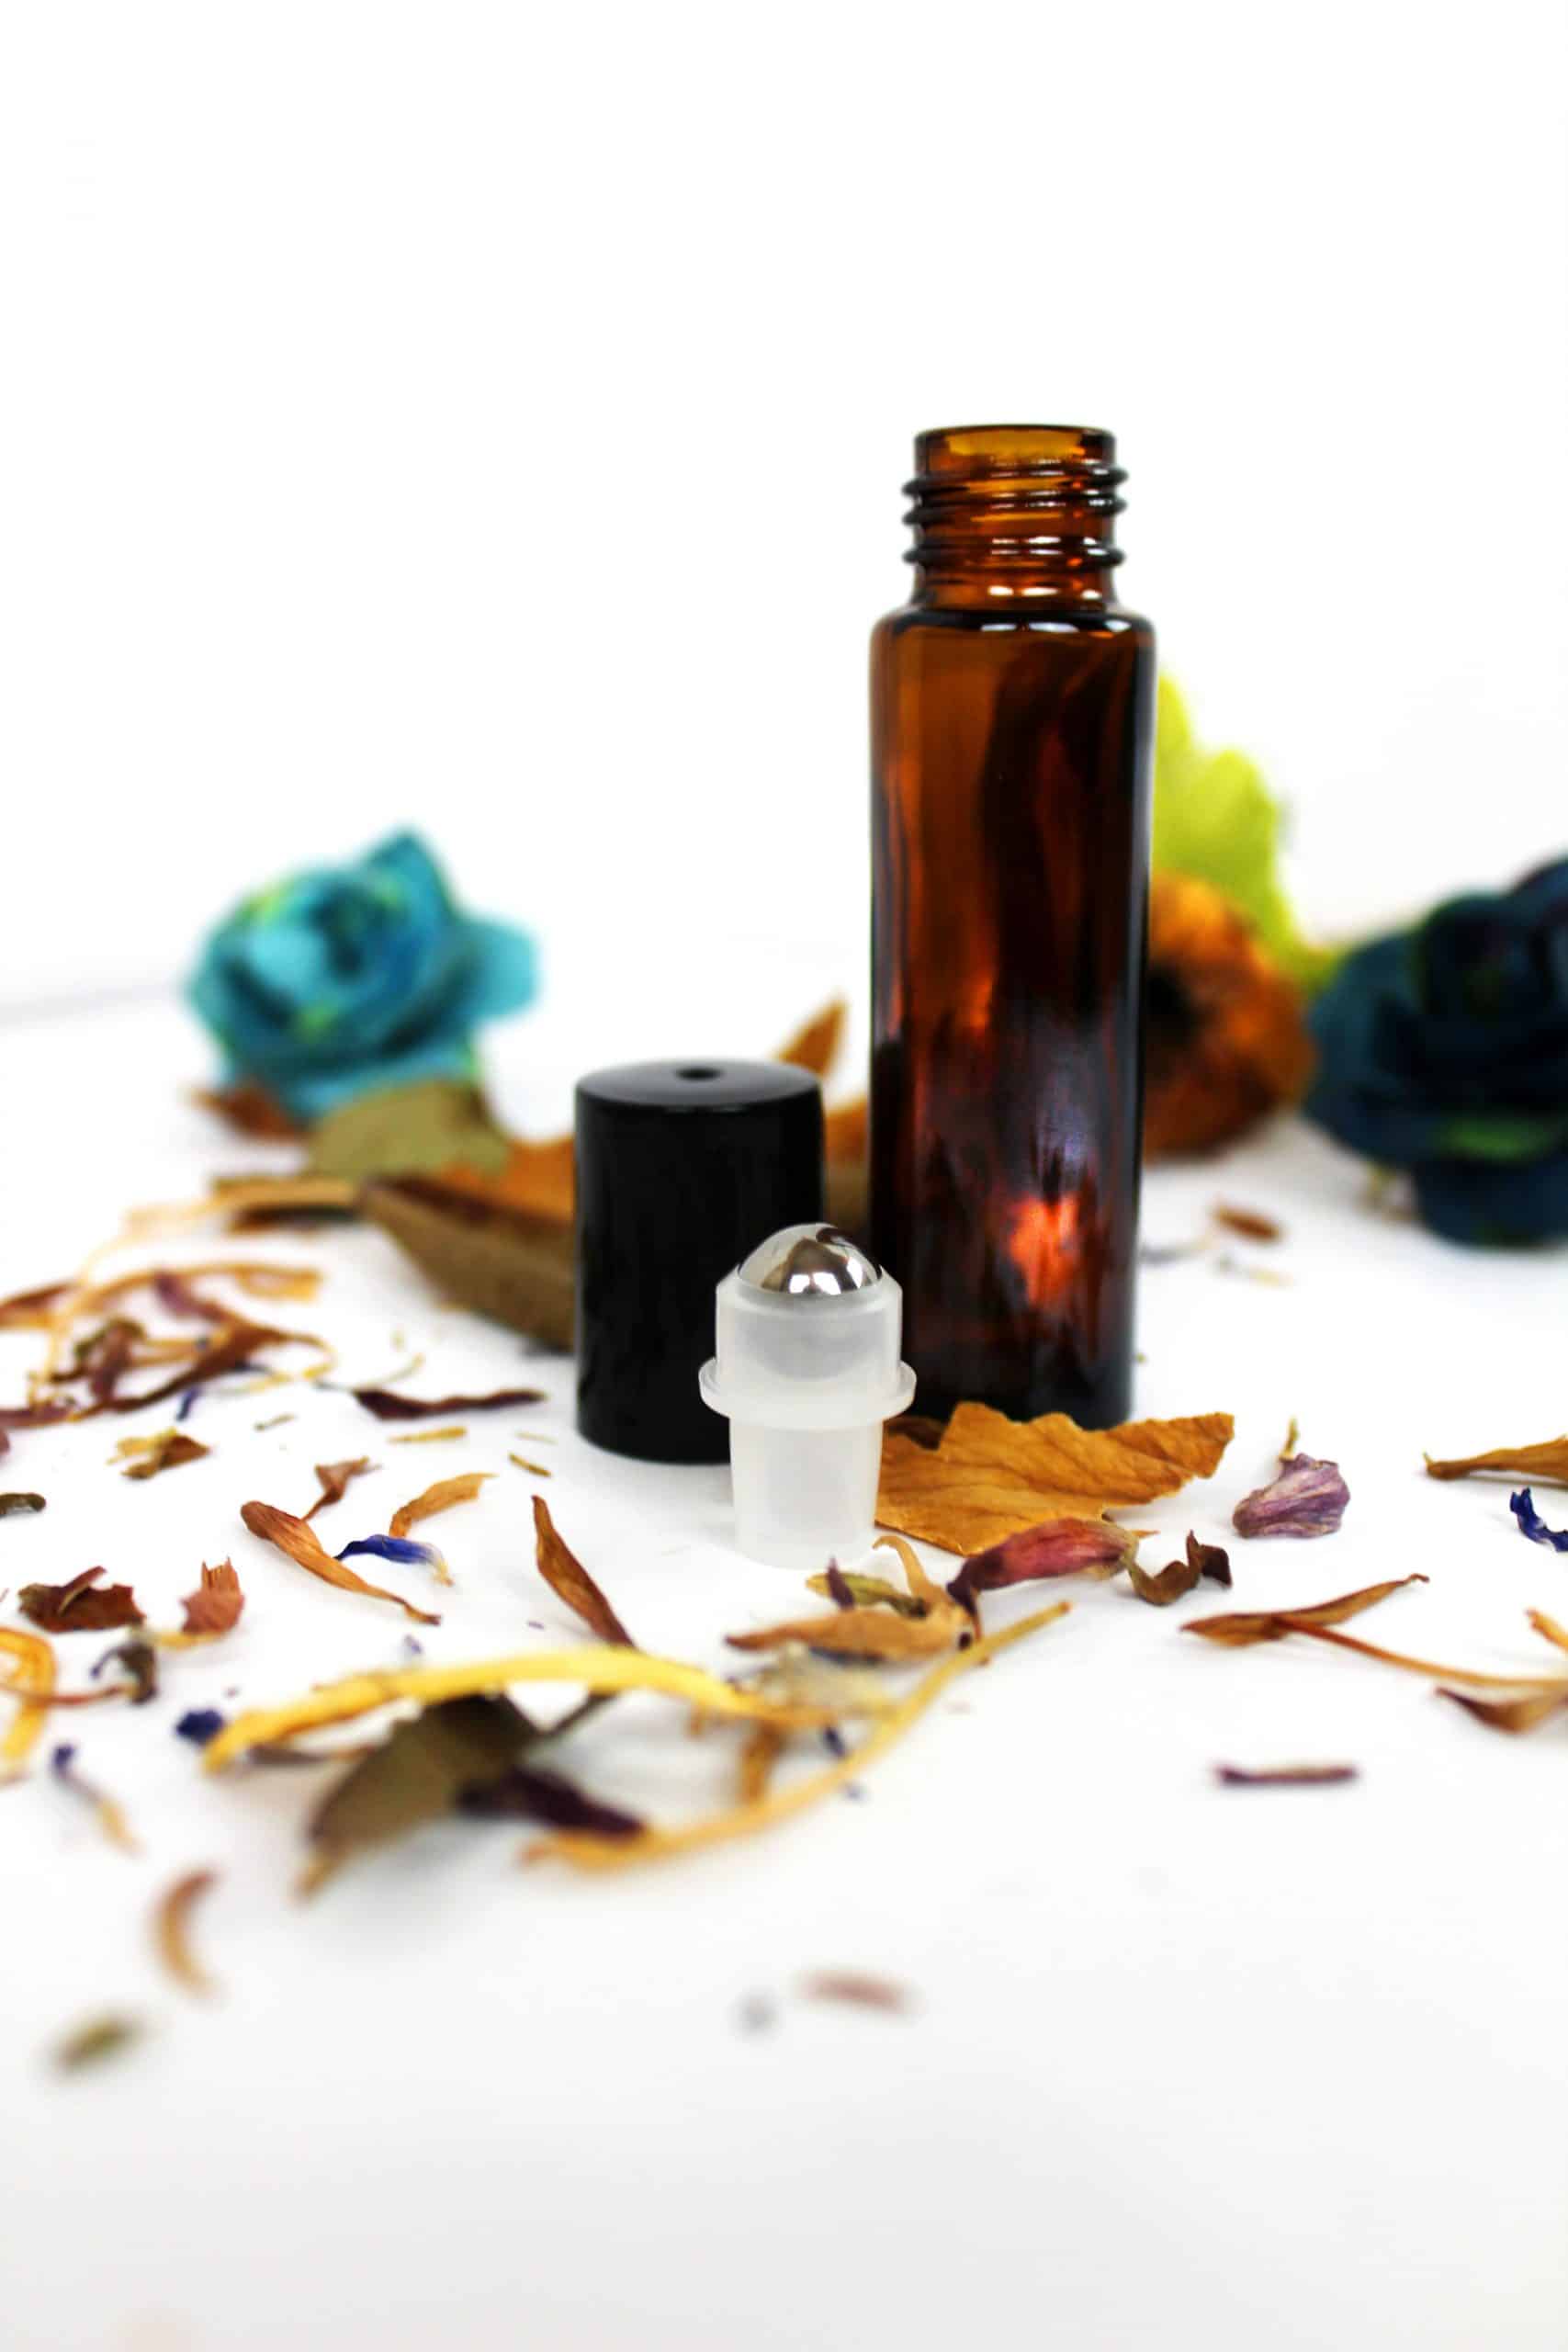
Wash your rollerball bottle with warm water and gentle soap. Let it dry completely before crafting your cuticle oil. Be sure to wash the rollerball and lid, as well.
Step 2 – Gather your tools and materials together.
Gather your tools and materials together in one easy to access place. Lay down some paper or other flat lying material that won’t be harmed by oil dripping onto it.
Step 3 – Pour in your carrier oils.
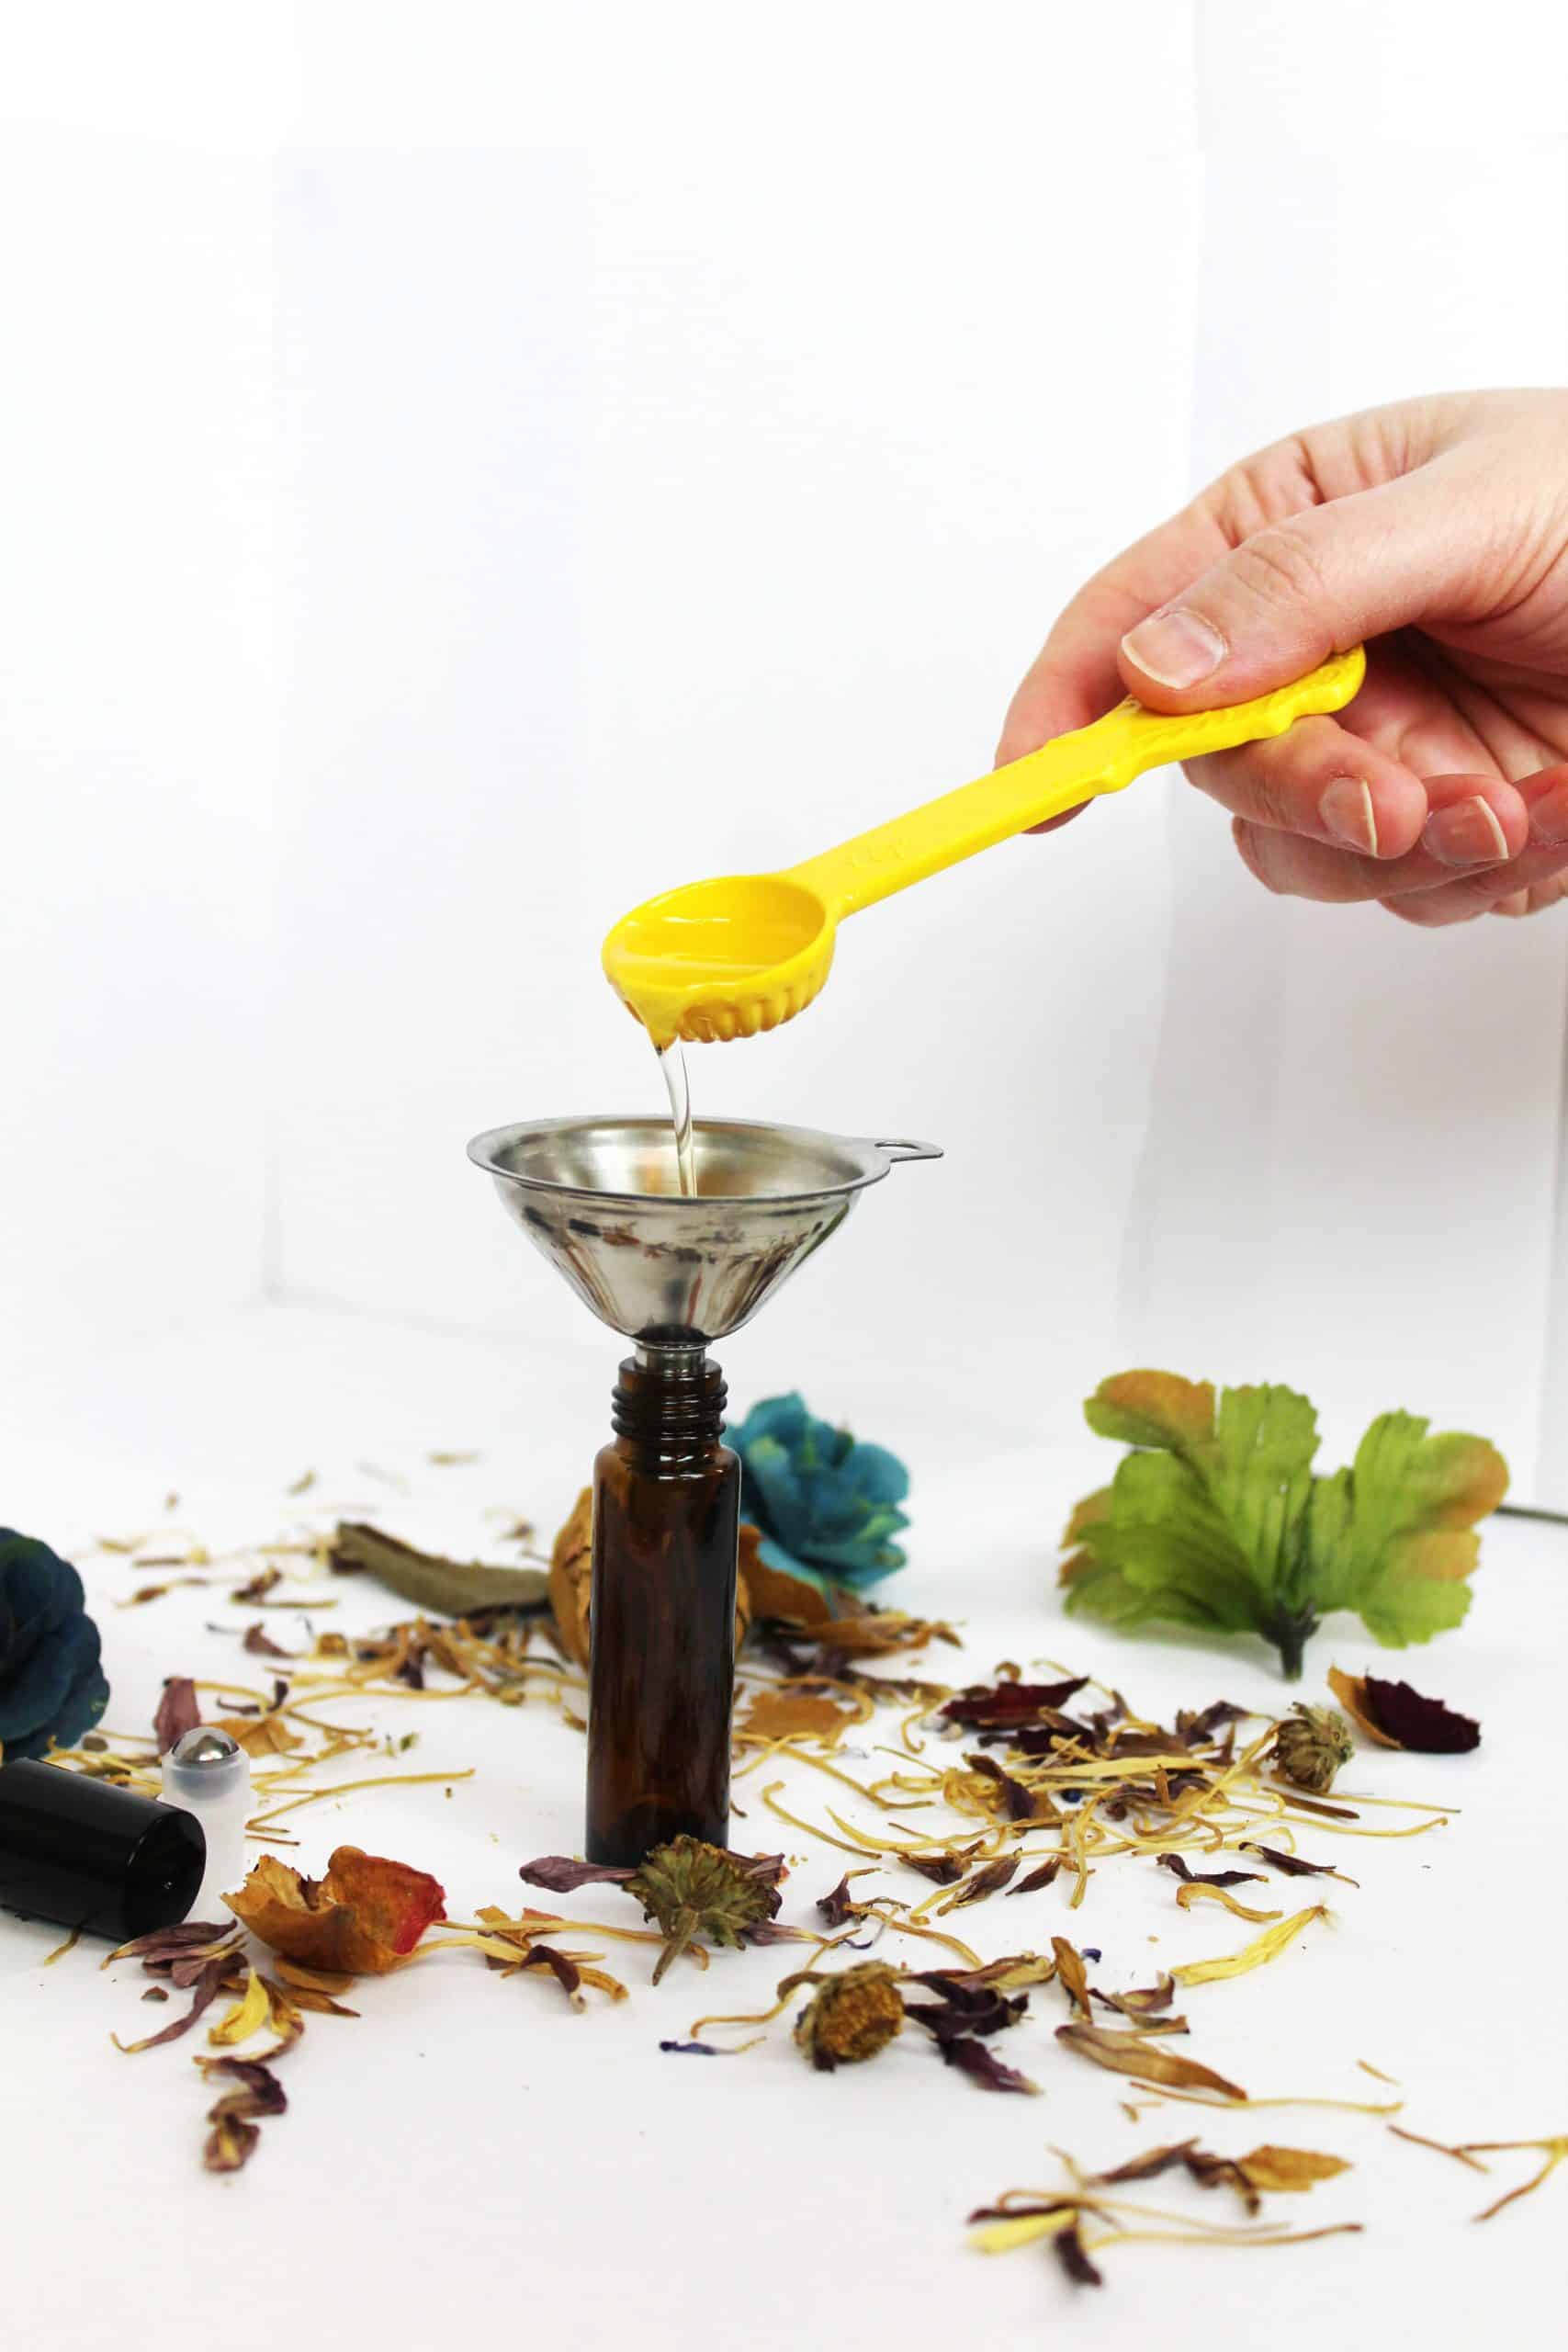
Take a small funnel and place it into the opening of the rollerball bottle. Measure out the avocado oil and pour it into the bottle. Next, measure out the castor oil and pour into the bottle.
Step 4 – Add Vitamin E oil.
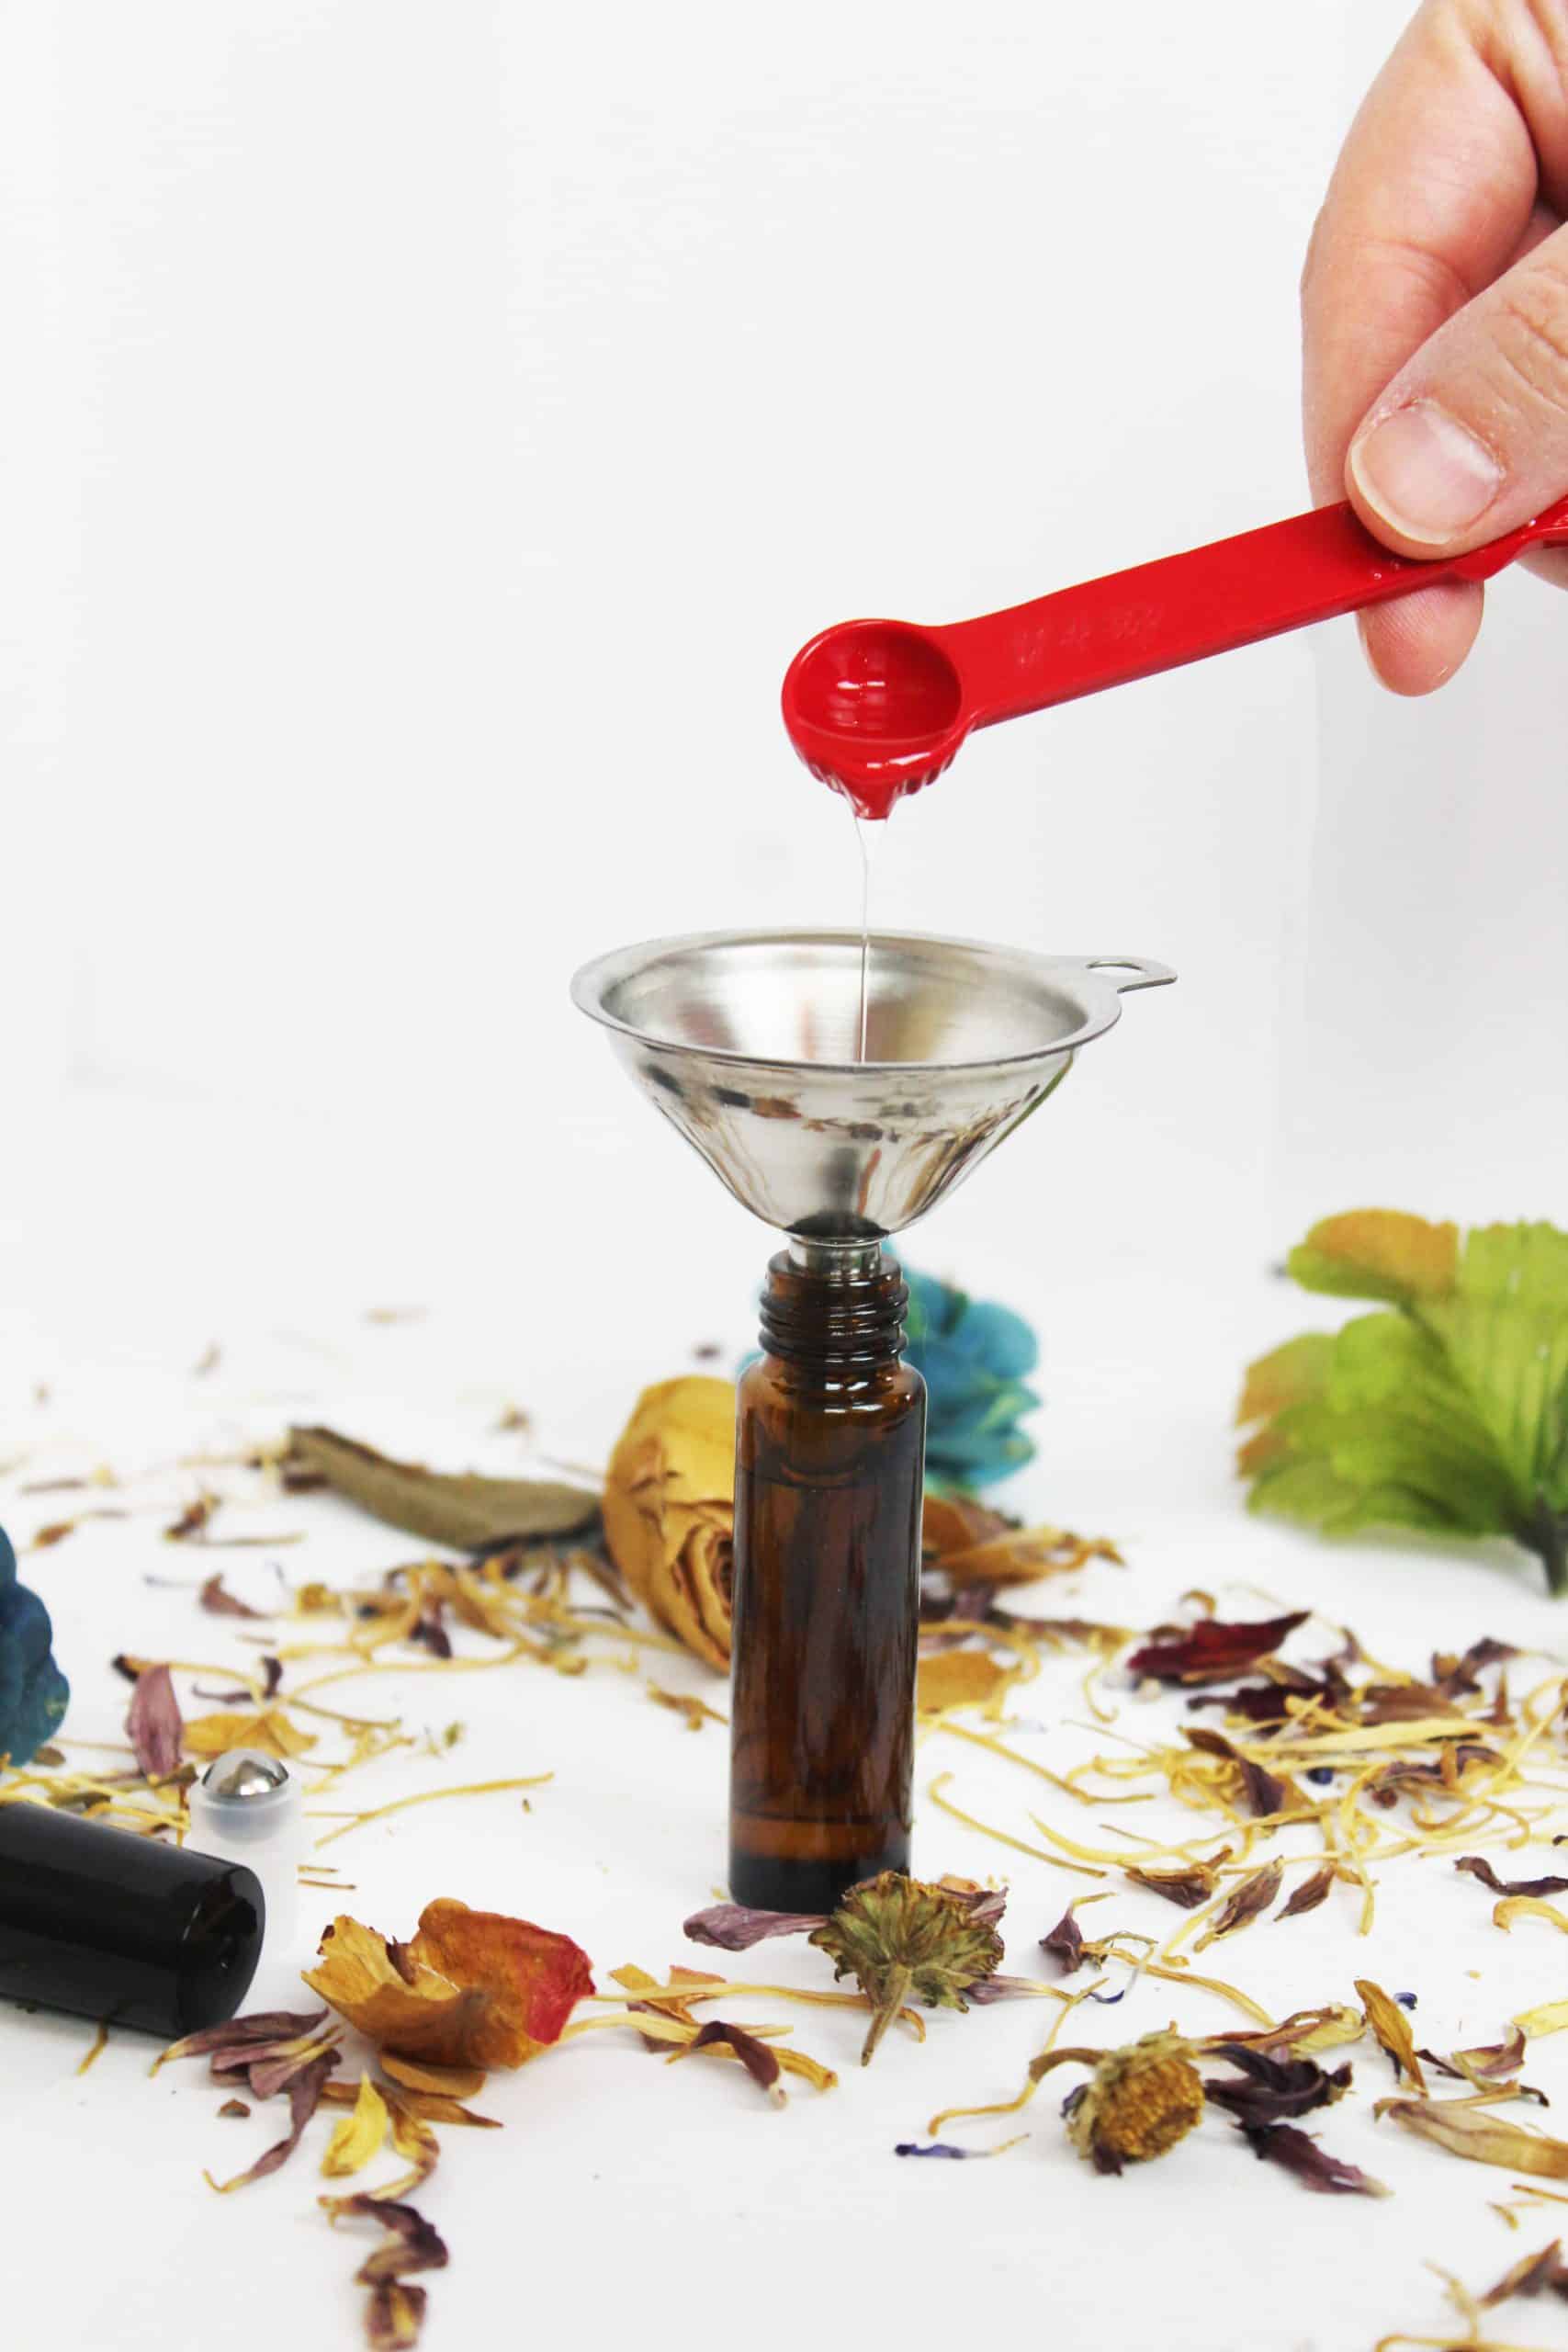
Next, measure out your Vitamin E oil and carefully pour it into the rollerball bottle.
Step 5 – Add in the essential oils.
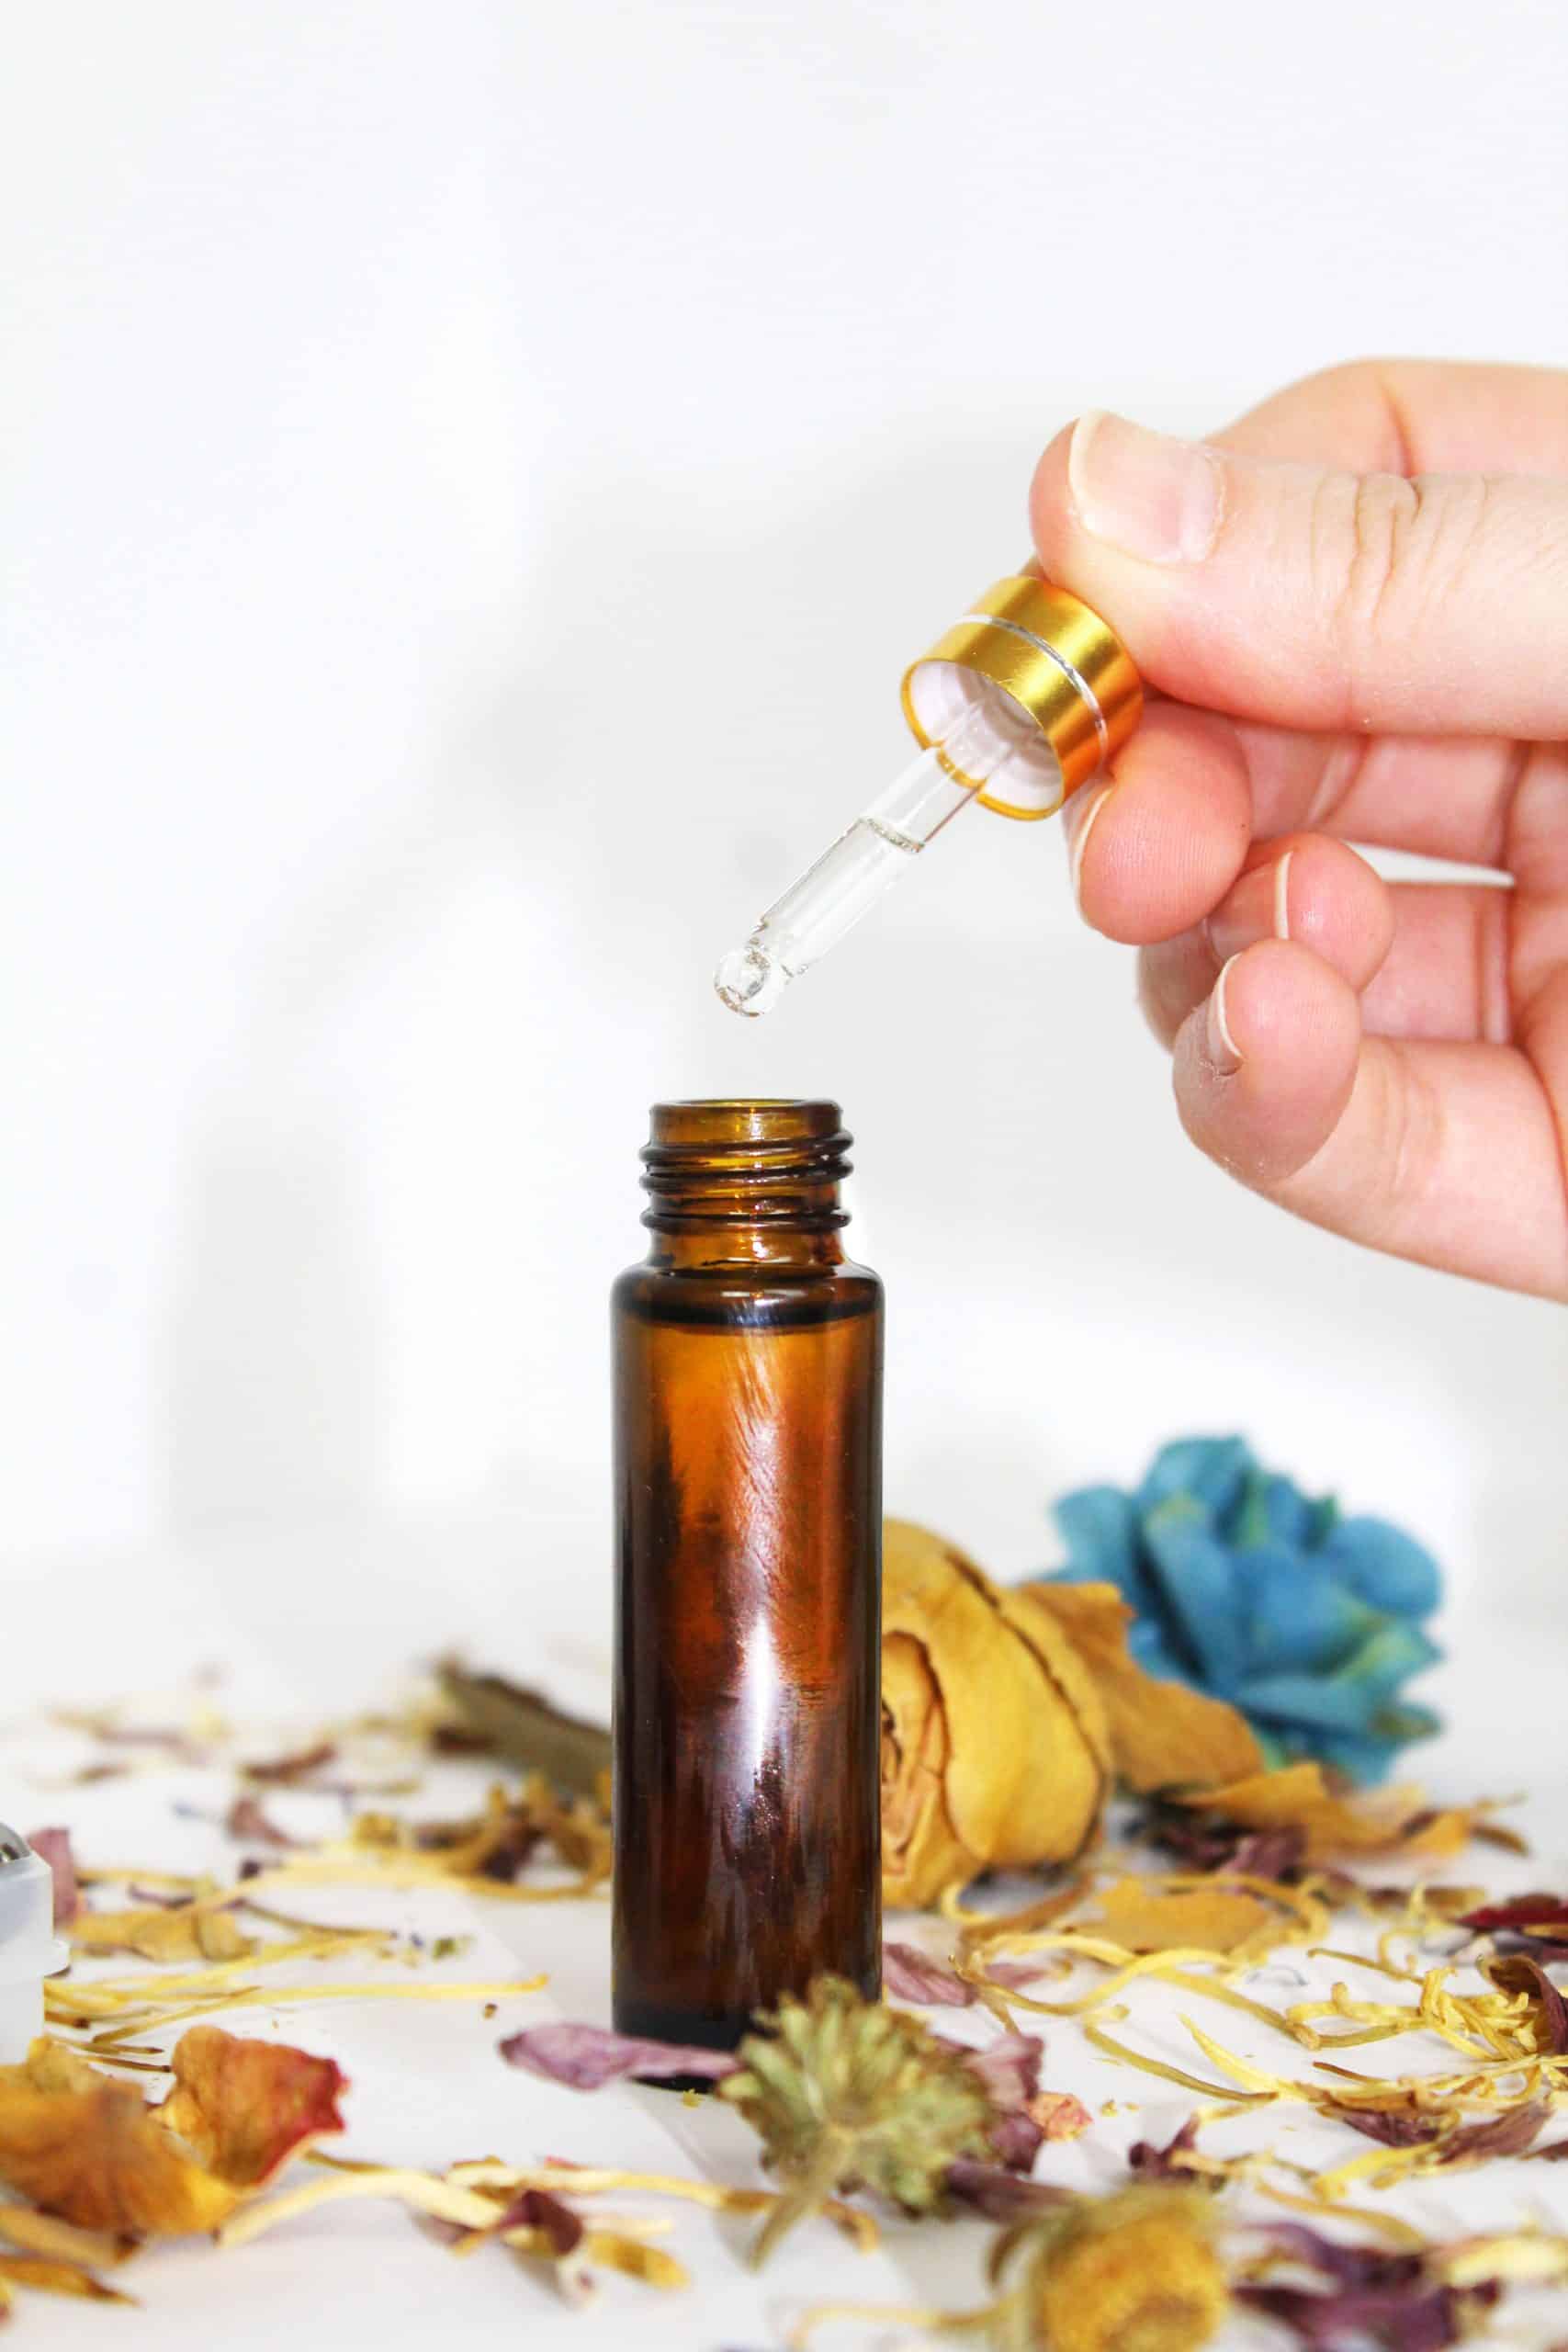
Using a dropper, carefully drop 4 drops of tea tree oil into the bottle. You may wish to use the funnel to ensure those precious drops make it into the bottle. Then, add 4 drops of the lavender oil. Finally, drop in 4 drops of frankincense oil.
Step 6 – Shake the bottle to combine the ingredients.
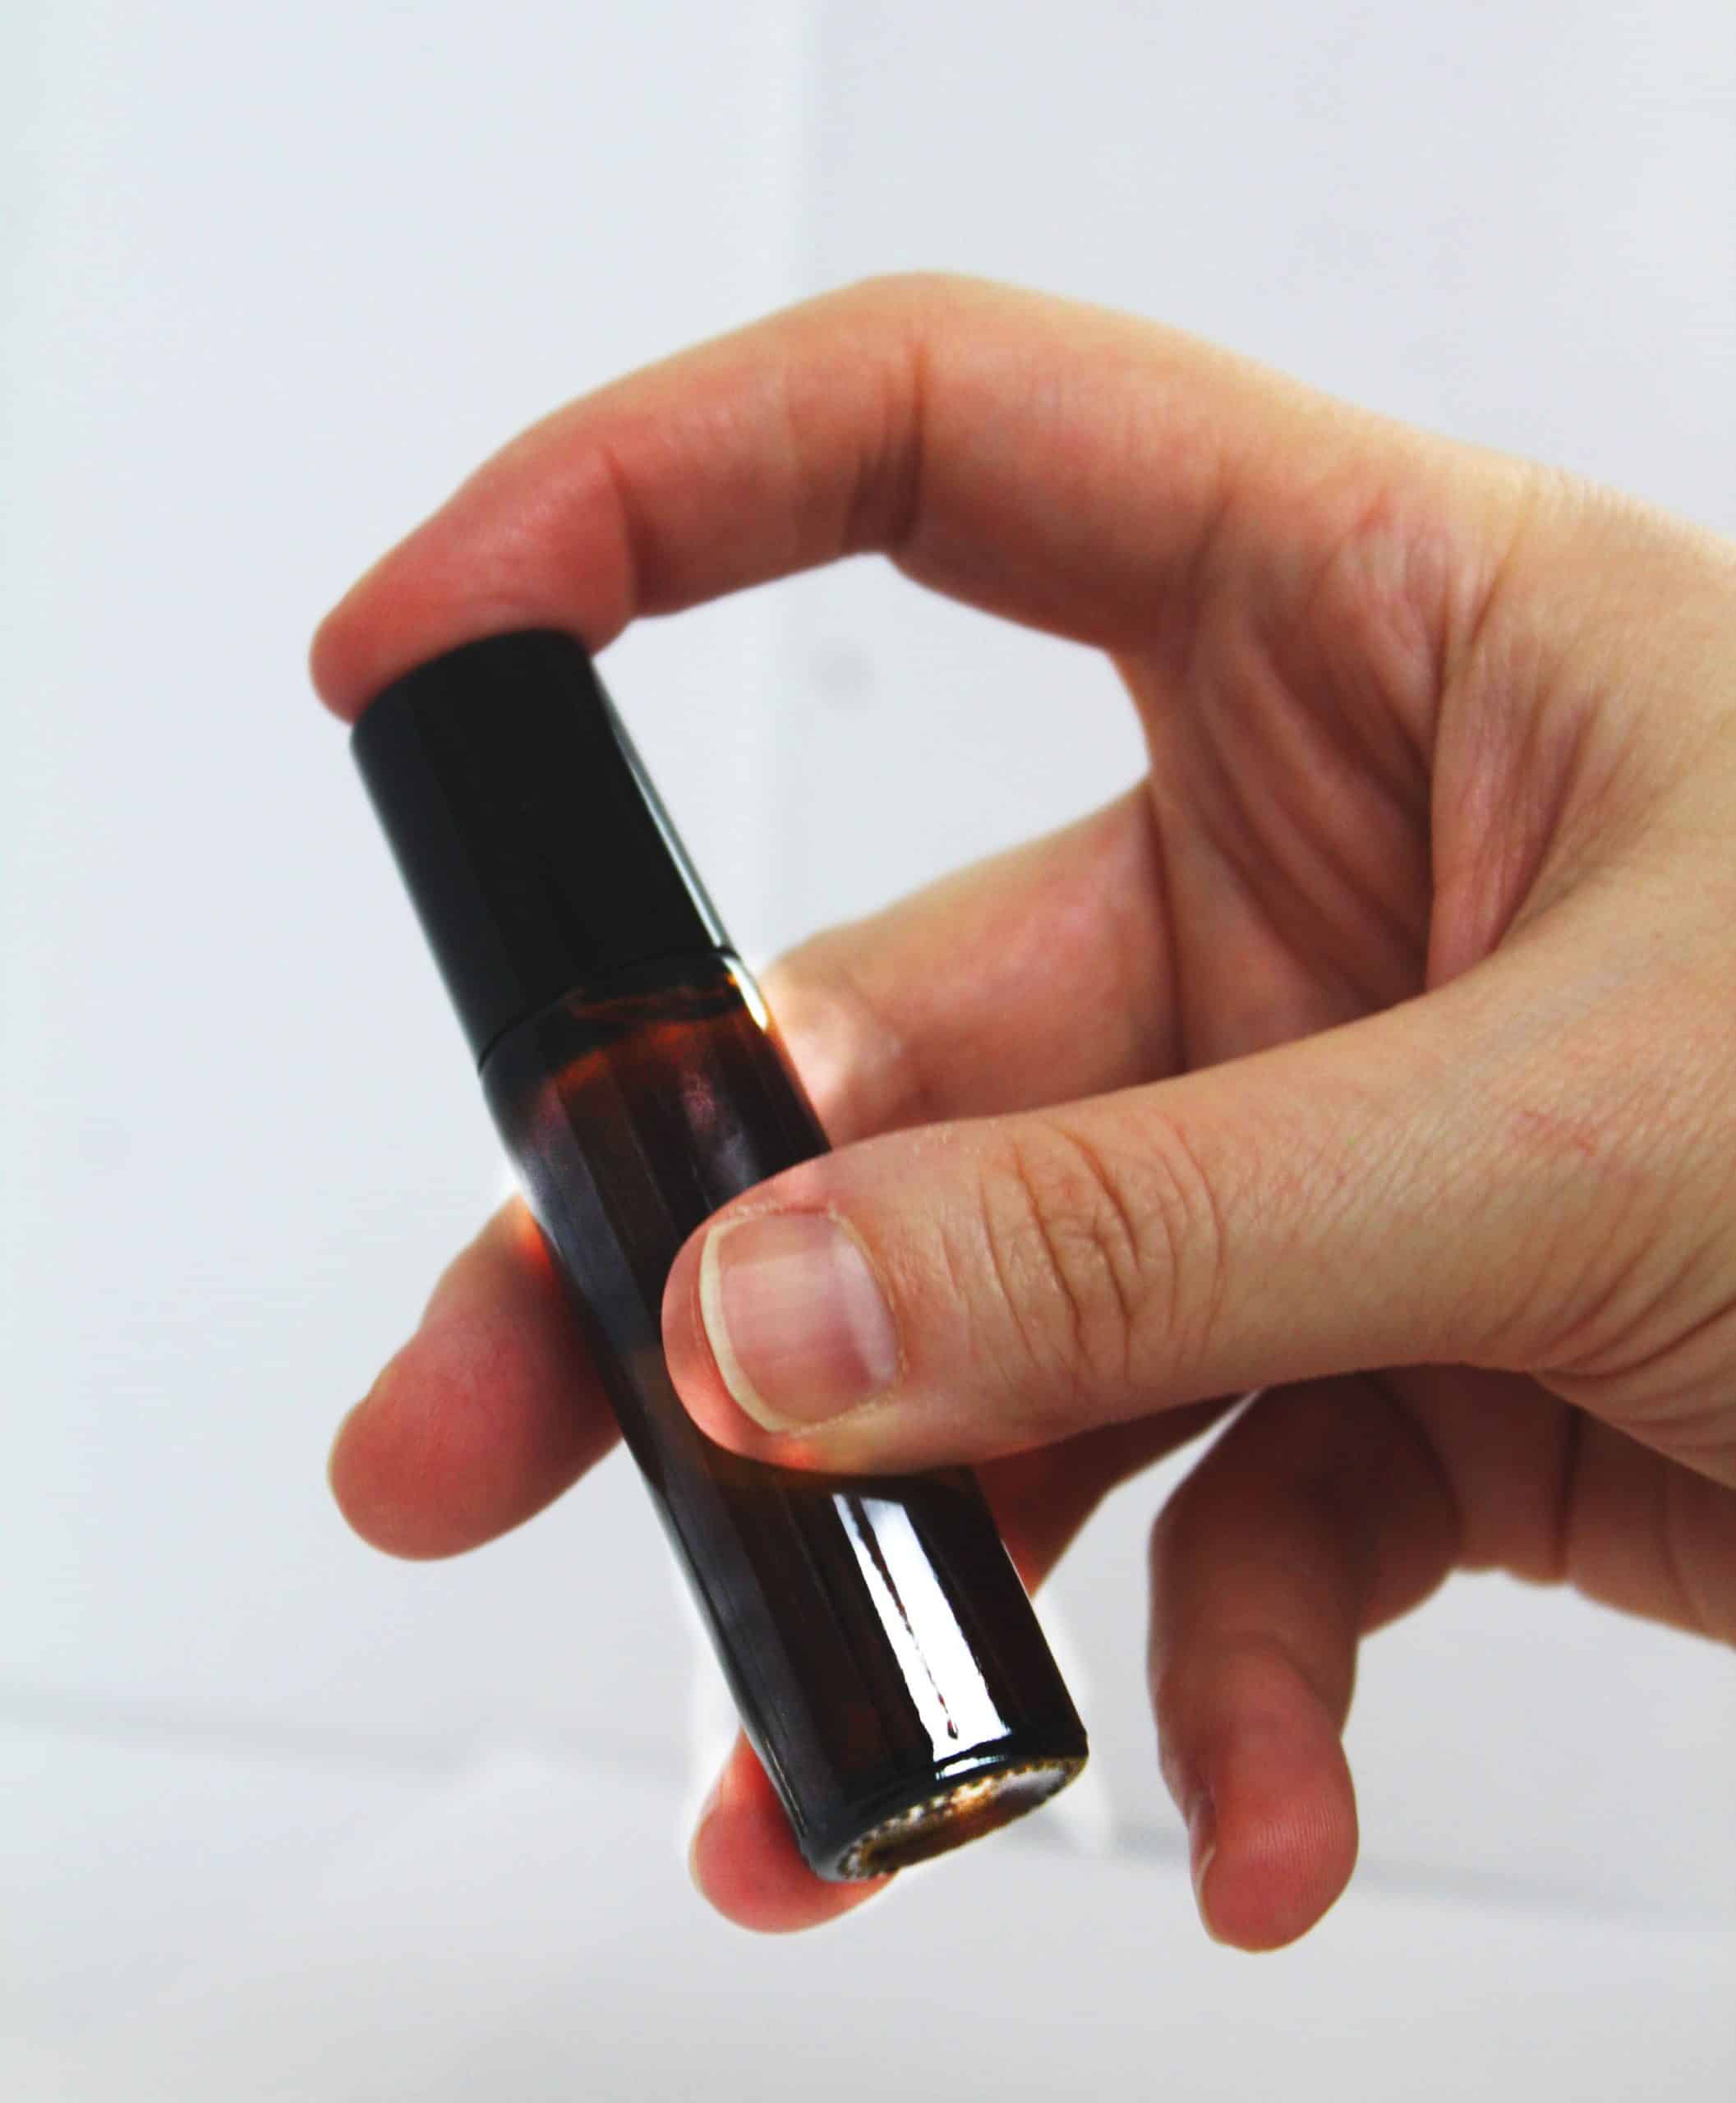
Finally, replace the rollerball and lid of the bottle onto the container and shake to combine the oils together.
Notes
Be sure to always store carrier oils, vitamin oils, essential oils, and any homemade recipes in a cool, dry, dark place. This preserves the quality of each of the materials over time.
Vitamin E oil is especially good for skin and nail health, so even though it’s not an absolutely “vital” part of creating the cuticle oil itself, it is probably the strongest help for your nails.
Be aware that high quality essential oils are highly concentrated and may irritate skin. Always blend and dilute with carrier oils, witch hazel, distilled water, or other “softening” ingredients before topical use and never consume as food, unless specified as “food grade.”
Discontinue use of essential oils if a rash appears after contact with skin and always avoid contact with the eyes.
Variations
With essential oils, there are almost always a few variation options that you may prefer. With cuticle oil, there are a few alternatives for your essential oils.
Sweet Orange
Skip the other essential oils and use 4-6 drops of sweet orange instead for an invigorating cuticle oil that helps lift your mood, reduce stress, and includes antimicrobial properties.
Lavender and Lemon
For another invigorating but soothing option, switch out the essential oils from the main recipe and use 2-3 drops each of lemon and lavender essential oils. The combination soothes and improves skin health, energizes you, and helps reduce anxiety.
Rose, Geranium and Lavender
This combination of floral essential oils is not only a lovely smelling mix, but it helps with a number of things for your skin and nails, as well as general wellbeing. Between them, they reduce anxiety and stress, ease symptoms of depression, calm your spirit, soothe and heal skin, and functions as an antiseptic.
Use 2-3 drops of each to create the ideal fragrant blend.
Eucalyptus, Lavender, and Tea Tree
Use 2-3 drops each of eucalyptus, tea tree, and lavender for some wonderful benefits. The combination helps to soothe skin, disinfect your torn cuticles, invigorates your senses, and decreases anxiety and depression, all while improving your overall nail and skin health.
Keeping Your Nails Healthy Isn’t Hard
The best way to keep your nails and cuticles healthy is adding a coat of cuticle oil to the end of each nail two to three times per week.
The primary blend listed above helps to soothe your nail beds, any damaged skin, and elevates your mood, as well as improving your overall skin and nail health.
Use the rollerball to spread the oil across your nails and cuticles or, if preferred, a nail brush works well for many. It just takes five minutes to make and only a few dollars total. It’s well worth the investment!
DIY Cuticle Oil
One of our favorite beauty care products to make at home is cuticle oil. You just need some basic tools and some lovely, fragrant ingredients to put together this cuticle oil recipe. The best part is, anyone can learn how to make cuticle oil, even your teenagers or mature kids.
Materials
- 1 teaspoon Avocado oil
- 1 teaspoon Castor oil
- ¼ teaspoon Vitamin E oil
- 4 drops tea tree oil
- 4 drop lavender oil
- 4 drop frankincense oil
Tools
- Small funnel
- Measuring spoons
- Dropper for essential oils (as needed)
- 10 milliliter amber rollerball bottle or 1-ounce nail brush bottle
Instructions
- Gather your materials and tools ahead of time.
- Carefully measure out the carrier oils and Vitamin E oil.
- Place the funnel into the top of the rollerball/nail brush bottle and pour in carrier oils.
- Pour in Vitamin E oil.
- Carefully drop essential oils into the bottle via the funnel.
- Remove the funnel and place the rollerball cap into the bottle and cover with the cap.
- Shake well to blend.
- Store in a cool, dry, dark place.
Notes
Carrier oils, vitamin oils, and essential oils should always be stored in a cool, dry, dark place to maintain the quality of the ingredients.